


Making a bird feeder that brings some of our awesome birdlife to your backyard doesn’t have to cost a fortune nor take any special skills. In fact, our 3 and 12 year old helpers were able to make the 3 different types below with almost zero adult assistance – so they are definitely a great holiday activity for the kids. The shaped cookie cutter ones also make awesome home made gifts as well. When we first started feeding our local wild birds with our DIY bird feeders we used the generic ‘parrot’ food from a supermarket. We realised that the birds that visit us don’t like certain seeds in that mix though and have moved to buying 1 pack of sunflower seeds and 1 pack of budgie seed mix (both found in the bird food section or our local supermarkets) and mixing them together – this has had great success with our local parrots in Adelaide, South Australia.
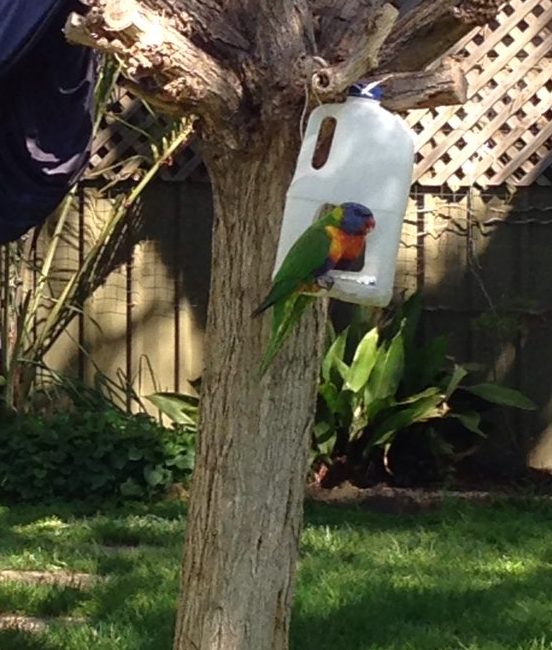
Easy Milk Bottle Bird Feeder
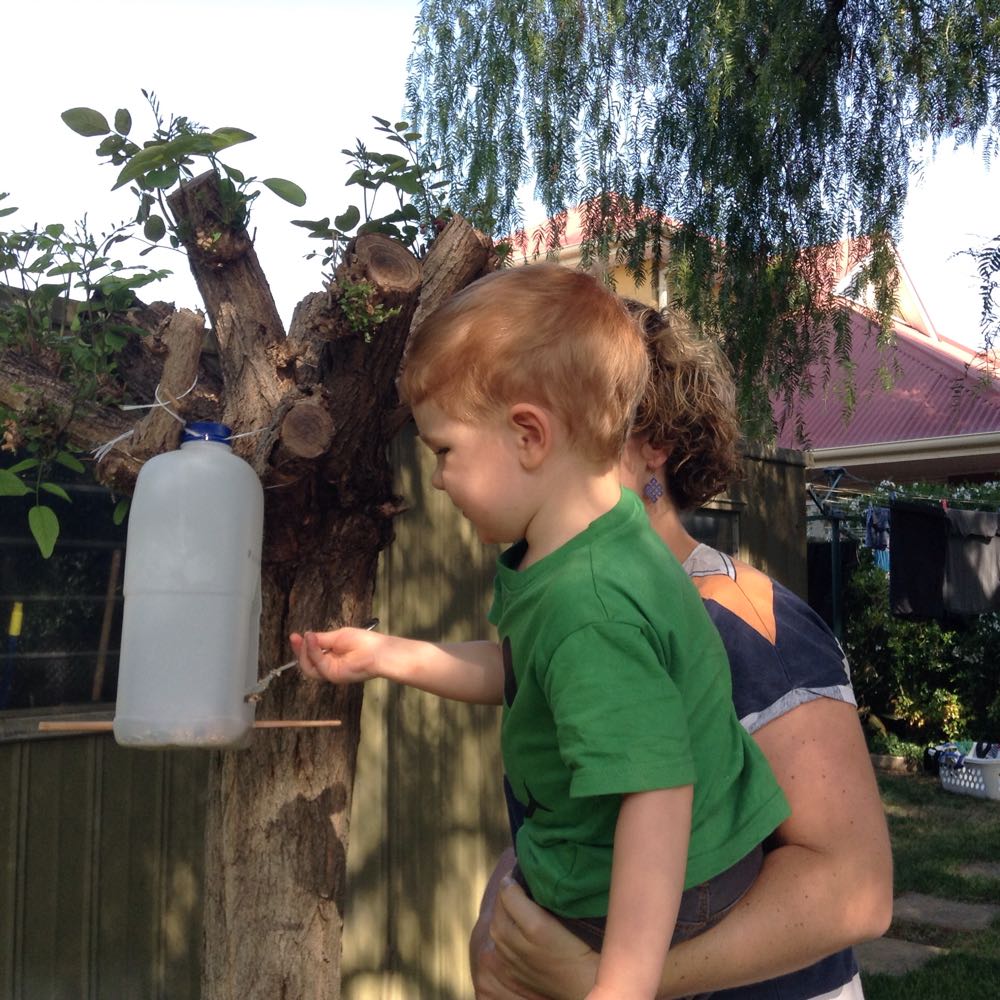
This milk bottle design has been going strong in our backyard for over a year now and the parrots still come daily to feed from it!
Ingredients:
- A clean plastic milk bottle or other similar bottle. We used a 3L plastic milk bottle which works perfectly (better than the 2L one we also tried).
- A wooden or plastic chopstick or similar long, thin, strong ‘stick’.
- String to hang it from a tree.
- Bird seed.
Method:
- Cut a large hole in both sides of a clean and dry bottle – at least 3cm above the bottom of the bottle. We drew the ‘hole shape’ on the bottle first to make it easier and had an adult or older child cut the holes out as it can be tricky with the thick bottle plastic.
- Have an adult pierce a hole in each side at least 1.5cm below the openings and thread a chopstick or similar through for the birds to stand on.
- Hang the bottle in a tree by wrapping string around the lid thread and then tightly twisting the lid back or by piercing the bottle with small holes near the top and threading the string through.
- Fill the bottom of the milk bottle with seed and wait for the parrots to find it!
Cookie Cutter Bird Feeder


This easy and fun method for making DIY bird feeders does involve hot water, but is otherwise super fun and easy. The downside is that once the birds do find them they don’t last long!
Ingredients:
- 2 teaspoons of gelatine
- 1/2 cup plain flour
- 1/2 cup boiling water
- 3 cups of wild birdseed
- String
- Moulds – we used cookie cutters
- Cooking oil spray or similar
Method:
- Spray the cookie cutters or moulds with cooking oil or similar spray (so the mix doesn’t stick).
- Boil water and carefully stir flour and gelatin in until dissolved.
- Add bird seed and stir until all combined and all seed is coated.
- Scoop bird seed/gelatin mix into the moulds and press one piece of straw into each mould (to make the hole).
- Press the seed mix firmly into the moulds and around the straw.
- Leave to dry completely (at least 24 hours) before removing from the mould and removing straw.
- Thread string or ribbon through the hole and hang from a tree (or giveaway for cute gifts!).

Easy Cardboard Roll Bird Feeder


These ones are super easy and toddler friendly – although can get messy for younger kids! They involve nothing sharp, hot or otherwise dangerous and the ‘mess’ can be licked clean. Obviously though, stay away from this method for kids with allergies. These feeders don’t last as long as the other 2 methods but are the easiest for youngsters.
Ingredients:
- Peanut Butter – we used Dick Smith smooth peanut butter and seemed to be a hit!
- Cardboard rolls – we made ours from used toilet paper rolls with all the paper removed.
- String – at least 60cm depending on where you need to hang it from.
- Birdseed!
Method:
- Spread peanut butter onto a clean cardboard roll. You want it reasonably thick so lots of seed sticks to it.
- Pour birdseed onto a plate and roll the peanut buttered cardboard in the birdseed until completely covered.
- Thread string through the cardboard roll and hang from tree.
For other DIY projects to do with the kids check out our link here: Build It, Don’t Buy It
You might also be interested in
-

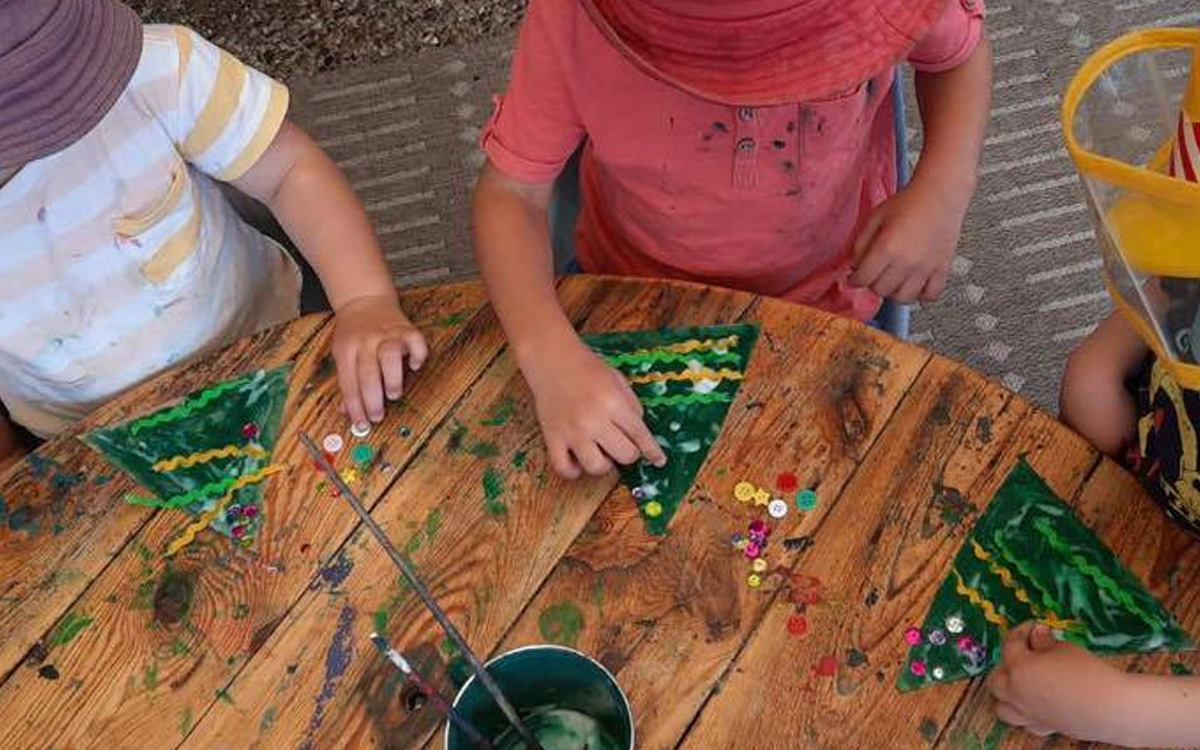
'Tis the season to #stayathome, save some money and DIY! Get into the Christmas spirit and get the kids busy on some DIY Christmas decorations! Toilet Roll Santa and Reindeer - from @kavzkuizine on InstagramWell nothing says COVID Christmas like a toilet roll Santa! This one takes a bit of artistic talent, or you can just draw the outlines for the kids to colour in. Coffee Pod Jingle BellsA coffee pod! String, bead and some glitter. Genius! Photo Frame OrnamentMake a frame from 4 paddle pop sticks, or sticks out of the garden and glue a photo on the back. Decorate with pom poms and sequins, add a string and hang on the tree! These make cute gifts for family too Paper Plate Christmas Trees - from EasyPeasyandFunReuse paper plates by turning them into mini Christmas trees! Paint the plate green and get busy with the glue stick. Image credit: Easy Peasy & Fun Decorate the TreeThis one is super easy, but our kids love it. Simply paint a Christmas tree onto a large piece of paper and let them go to down gluing and sticking the decorations. You can use anything scrap paper, craft bits and pieces, wool for…
-

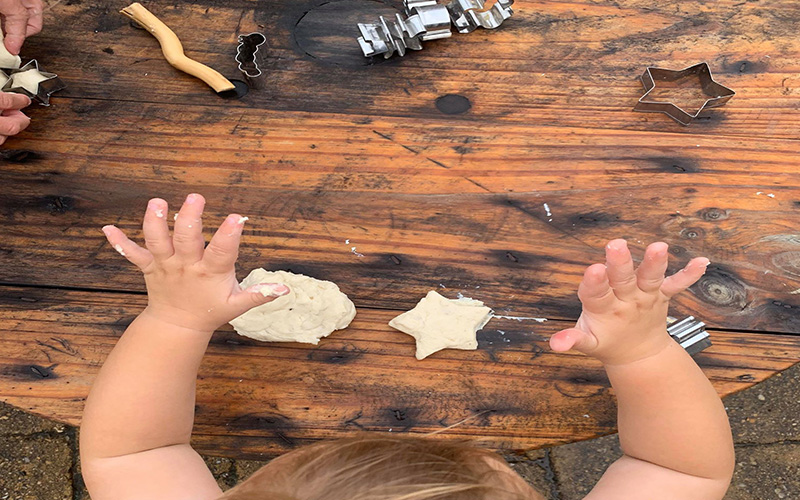
Playdough has to be one of our favourite activities to do with children at home. It’s quick, easy, lasts in the fridge for ages and provides HOURS of fun, even for older children. Here is our easiest and best playdough recipes! The Best Playdough Recipe 1 1/2 cups plain flour1/2 cup self raising flour (this gives the playdough a wonderfully soft and fluffy texture!)2 tablespoons of oil (we use coconut or olive oil)1/2 cup salt2 tablespoons cream of tartar (find it in the baking section of your supermarket)Approx 1 cup boiling water. Just add bits of it until you get a nice texture, sometimes it can be a bit more than 1 cup.Food colouring (optional)a few drops of your favourite essential oil (we love peppermint or wild orange) Mix the flours, salt, cream of tartar and oil in a large mixing bowl. Add the food colouring to the boiling water and gently stir through. Then, add the water to the dry ingredients in increments until you are happy with the texture. Add a few drops essential oil and knead through. Make sure you continue to knead the playdough until it the right consistency. You may need to add a bit…
-

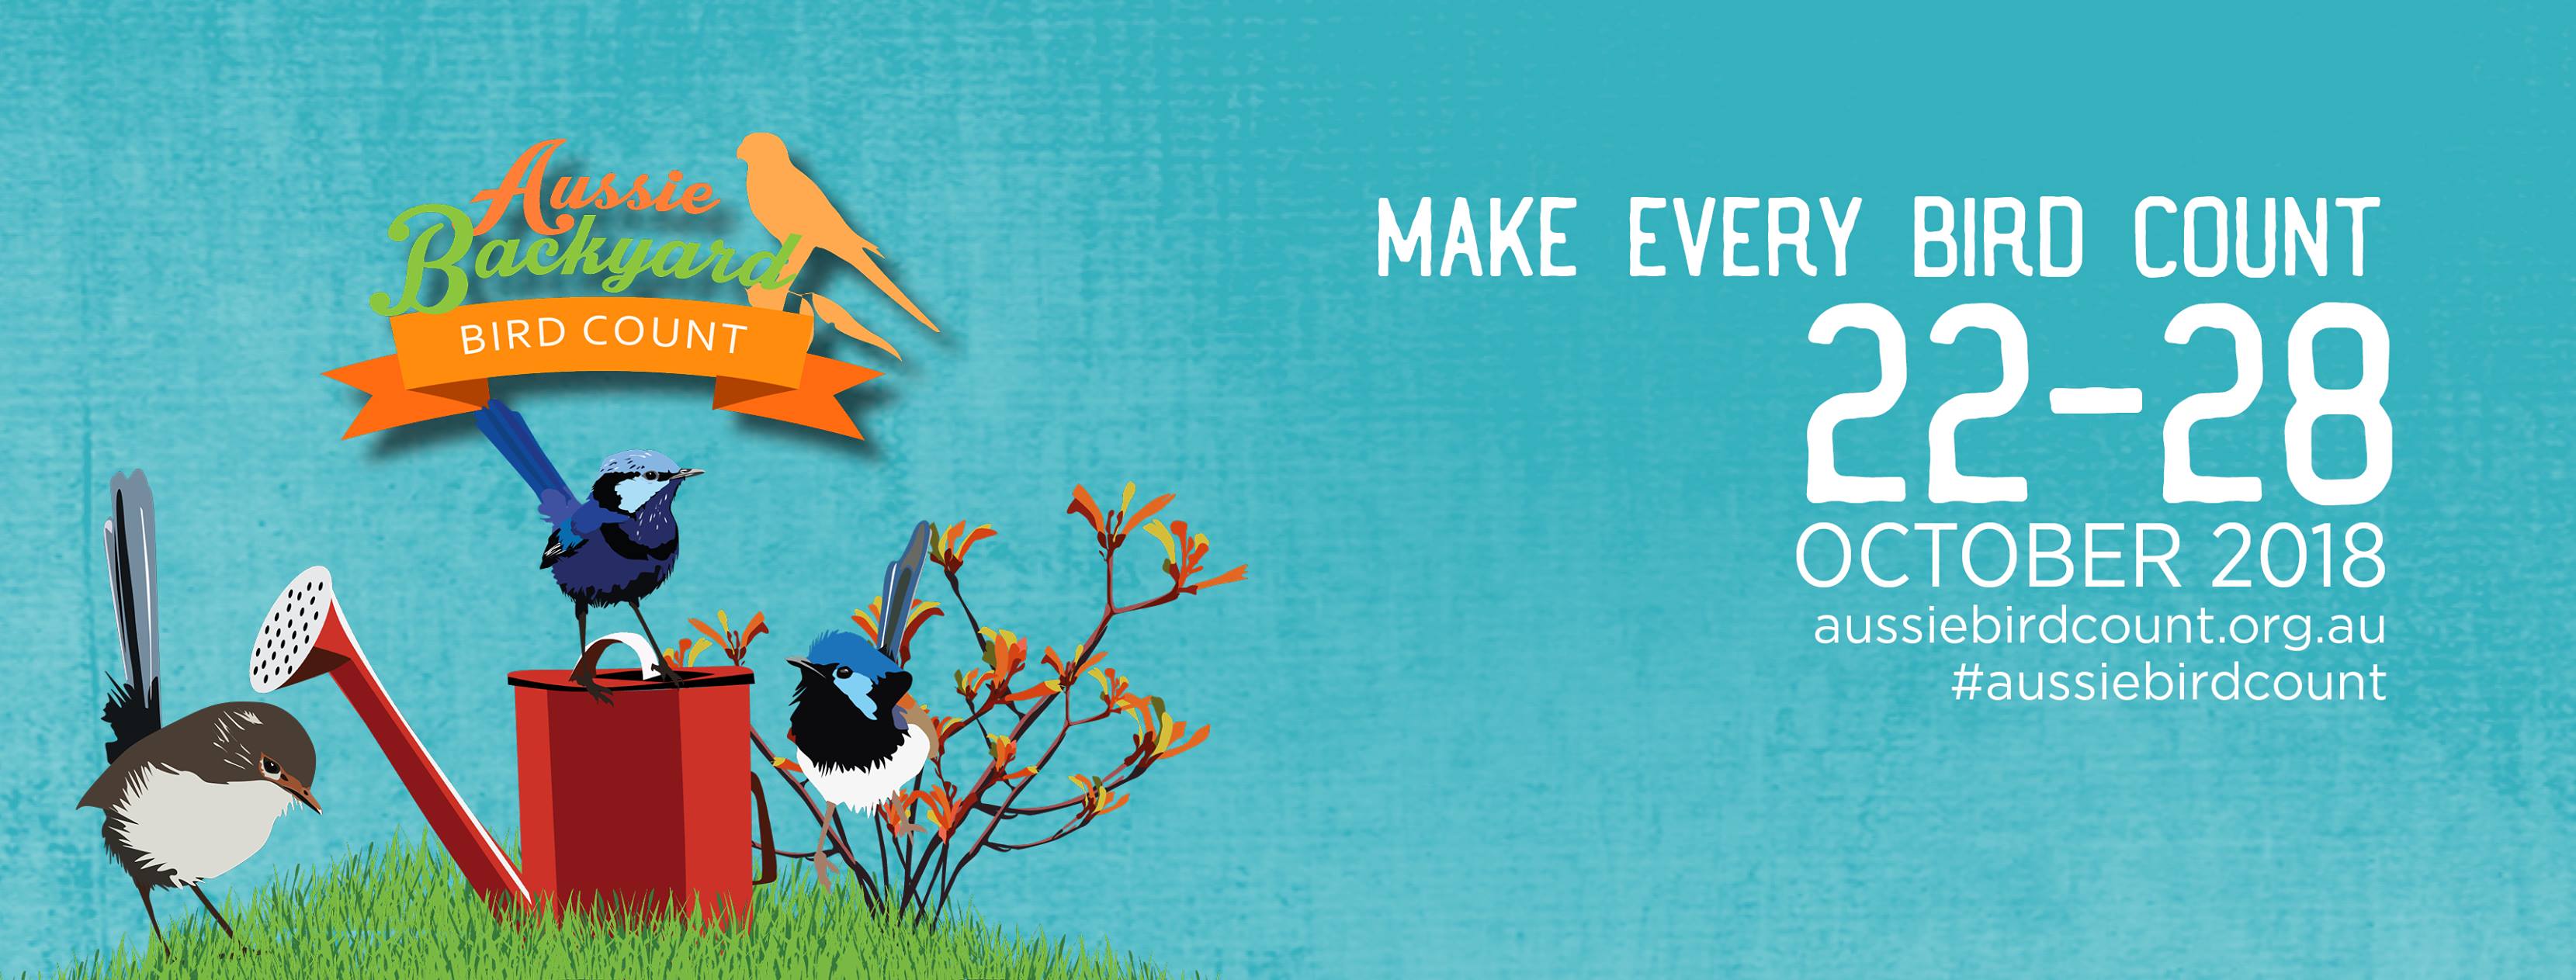
October 22 - 28, 201 What is it? The Aussie Backyard Bird Count aims to engage communities in the natural world while getting to know the birds in your local area through participation in a simple, fun, all-ages activity that can be done anywhere. By taking part in the Aussie Backyard Bird Count kids will become citizen scientists. By participating in the Aussie Backyard Bird Count, you will be helping BirdLife Australia find out about the common species that live where you live. Providing a snapshot of Australian birds at the same time each year allows us to look at the trends in our bird communities from year to year. This is important because it’s these more common species that give us the best indication of the health of the environment – think of birds as a barometer for nature! How do you get involved? All you need is 20 minutes, your favourite outdoor space, and some keen eyesight. Simply record the birds you see on our Aussie Bird Count app or through the Submit a Count tab at the top of this website. You’ll instantly see live statistics on the number of people taking part and the number of…


Hello,
I love the look of this activity and plan to try it with my kidlets today as part of our Christmas prep. I was however wondering how the final product holds up to the Australia summer temperatures? I noticed that a few of the American posts, talk about them holding together up to 18 degrees and we are pushing 35 here most days. How did you find they held up for you?