


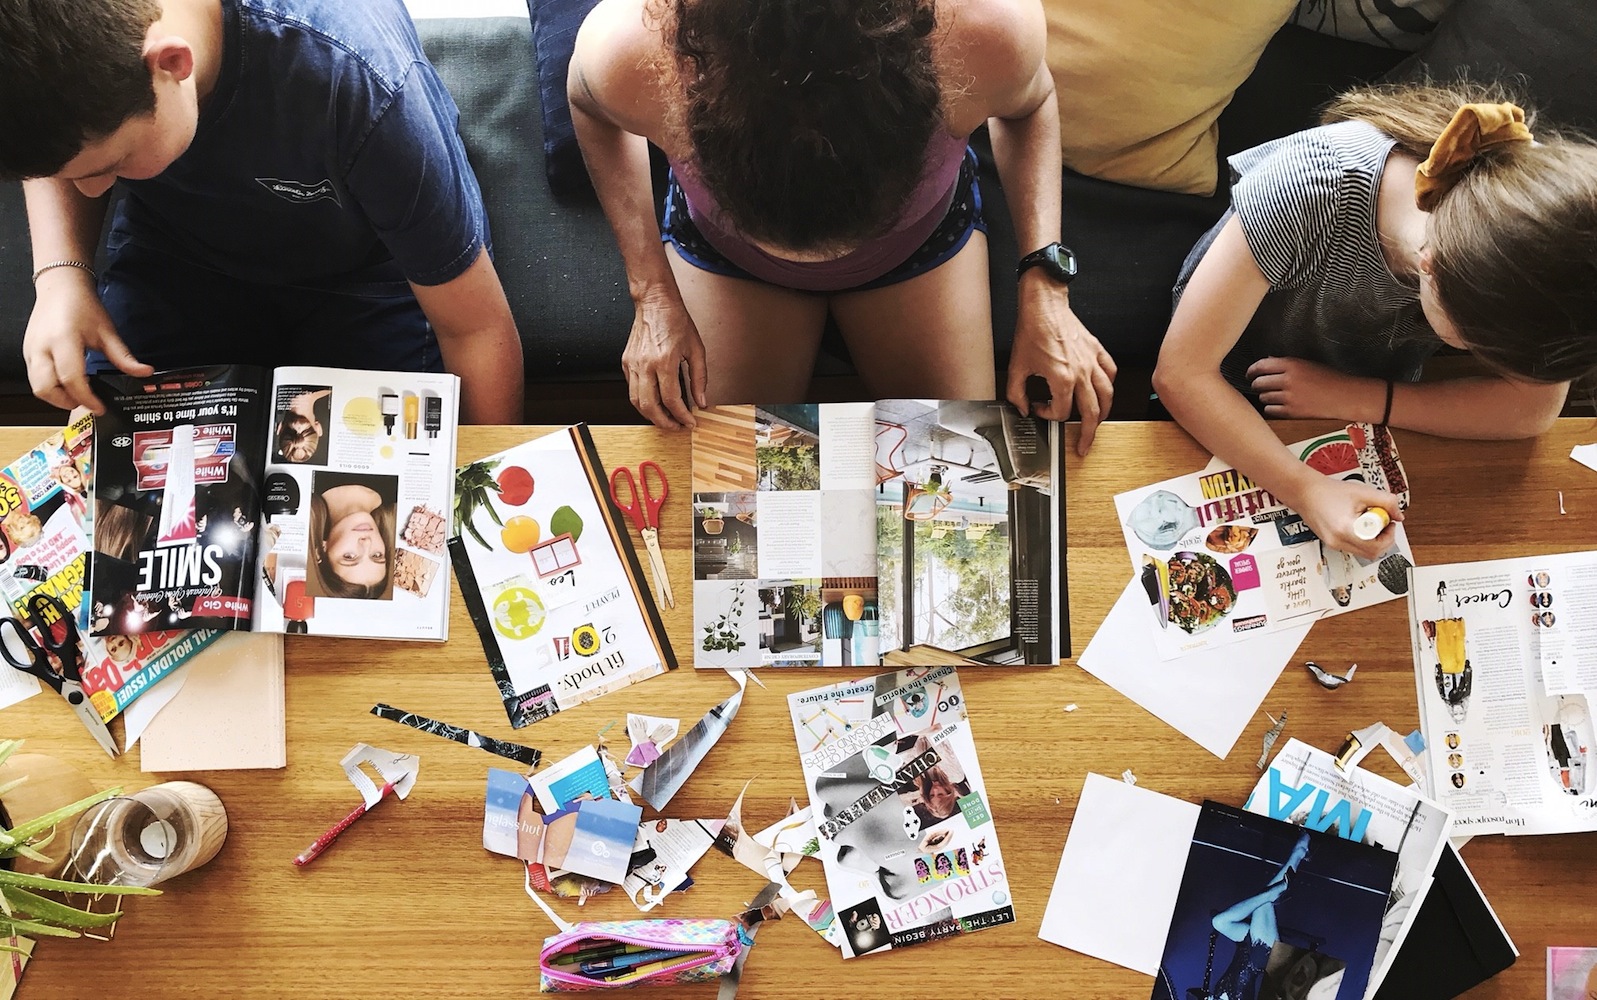
A nice way to support your school aged children in the transition back into school life, is to work with them on their goals. This project is mixing love and art together to create a very cool collage Dream Scaping vison board.
You don’t need much. Love. Plus the following items:
- Magazines
- Scissors
- Glue
- A4 or A3 paper
- Time
I always start this process with a connection to self, even if that is just closing your eyes and focusing on the flow of your breath for a few moments. This simple practice brings us into the present and allows us to focus on the emotions and thoughts that are happening to us right now.
The next step is to talk about the coming year with all the excitements and challenges it will bring. New friends, new schools, new teachers, new structures plus the familiar and steady support of family, pets, friends, sports, interests and their home life.
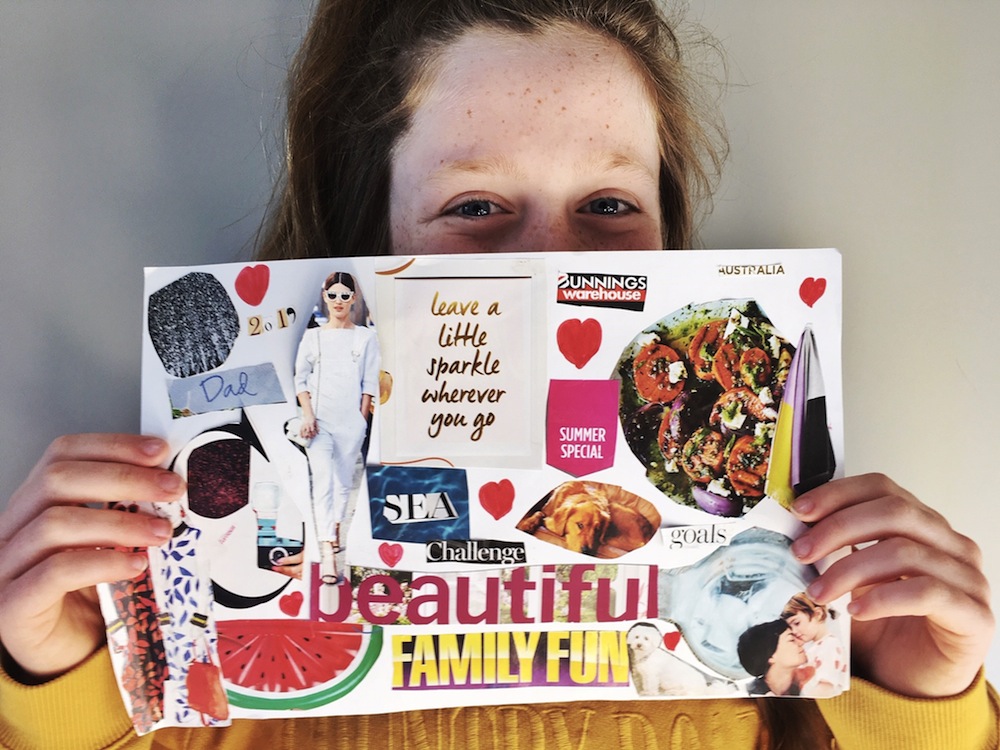
By focusing on Dream Scaping; all the things that your little ones want to achieve and talking to them about it, you are already opening the doors to the flow of that energy and promise. And…you are there seeing their goals and dreams being made on their vision board, so you can work your caring magic by helping and offering support where needed! It’s a win…win…
The next step is flicking through the magazines and finding images and words that represent your goals and ideas of self and arranging them onto your vision board. It can be layered, patterned or placed on any which way – there is no right or wrong way to do this!

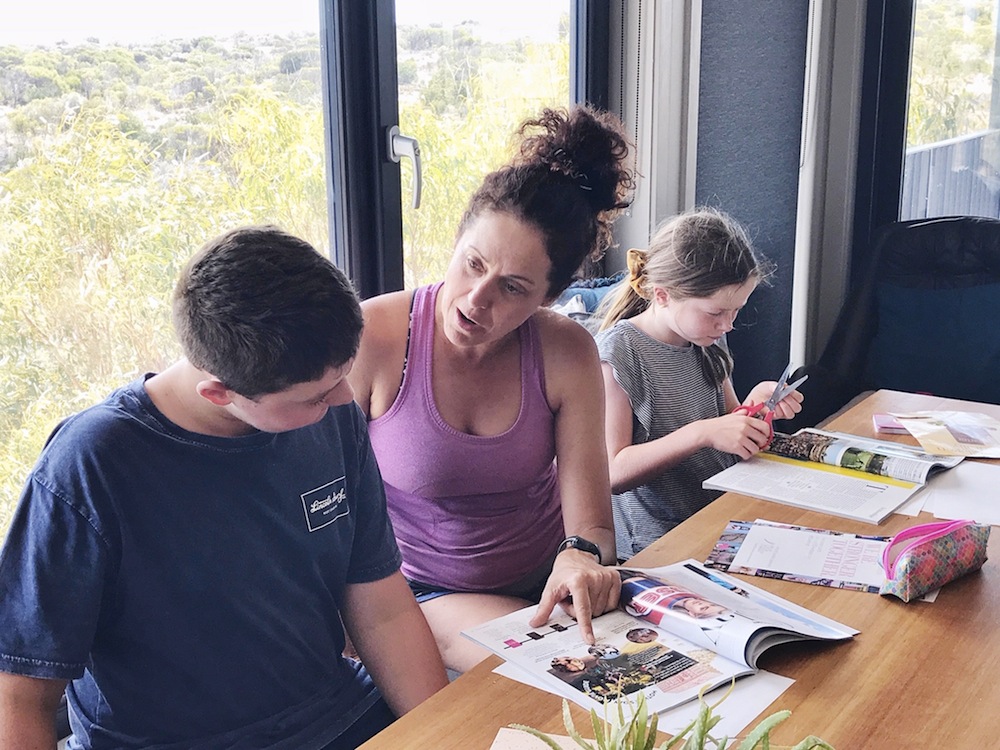
I watched my Goddess Daughter, as her Dream Scaping partner, create her vision board and over the coming days saw here master one of her gymnastic goals. If I hadn’t sat by her side in this creative process, I would not have known just how much it meant to her.
Enjoy this space and this time and please make one for yourself!
I would love to see them so post your Dream Scaping for all to send their energy to it!
Love and Light,
Michelle
You might also be interested in
-

If your house is similar to mine, where your children are slightly obsessed with scratch paper – then this art is for you! The absolute thrill of scratching off the top colour to find another nestled beneath is akin to magic for our little and big children. However, the cost of these magical papers is quite astounding…so, let’s make our own! You will need: A4 paperA scratch tool (or something pointy – I use the end of a paintbrush for my kids when they are fighting over our scratch tool!)A pack of Oil Pastels – I used Micador, but any brand will work. Office works sell Faber-Castell and Staedtler oil pastels for under $10, as would most stationary stores.Great arm muscles!!! The arts learning is about layering, as you will need to layer dark over light colours, for this to work really, really well. Apart from that, the process is simple! Begin by creating patches of lighter colours all over the page. You will need to press really hard and make the pastels look thick, not showing any white from the page behind. It doesn’t not matter where you put the colour, or the shapes that you make…there are NO…
-

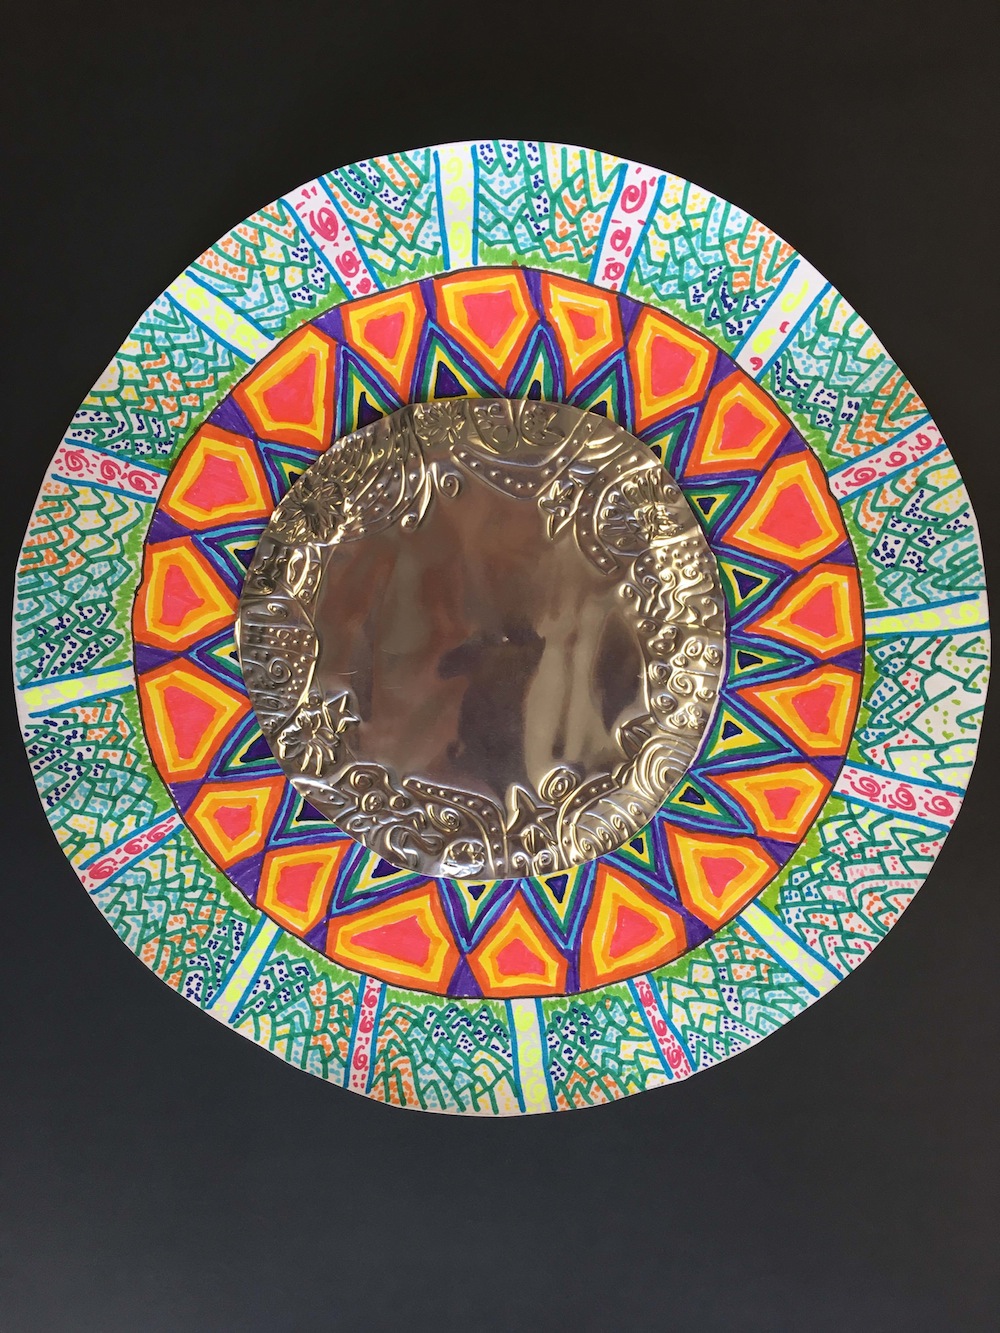
We look all over the world to find inspiration for our art. In the Mexican markets, in the brightly coloured stalls, you can find mirrors made from tin foil. So, in true inspiring fashion you can create these beautiful pieces of art with your little ones. If you are thinking about explaining the art elements to your little one, then we are using lines as repetitions and patterns! You will need: Embossing foil (found at art stores) or you can alfoilNewspaperPencils and textasCompassScissorsGlue (a hot glue gun is best if available)A3 paper (to be cut square)Imagination…… Once you have all your equipment you can begin by creating a circle with a compass on the tin foil. You can also use a round lid, as long as it is not too big. Continue by creating two or three more circles, larger than your tin foil on your A4 piece of paper. Using a pencil, you can begin to carve in a design on the outside of your tin foil. You can use your imagination to create any organic or geometric shapes, they all look amazing! Please be mindful that the edge may be sharp. Use newspaper under your tin foil so…
-

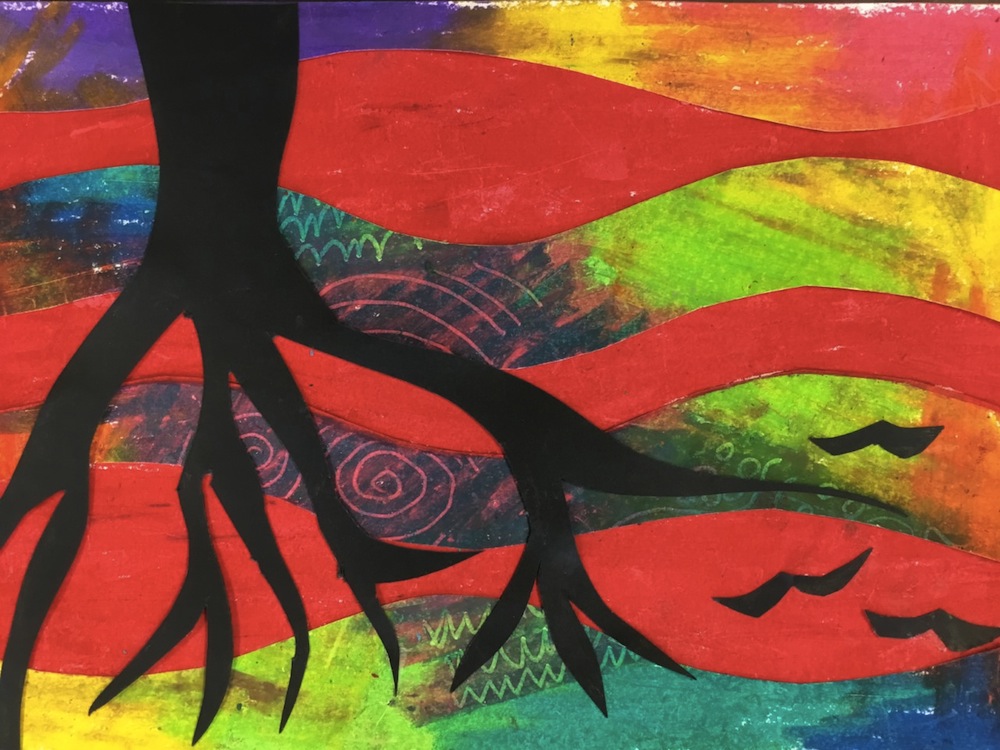
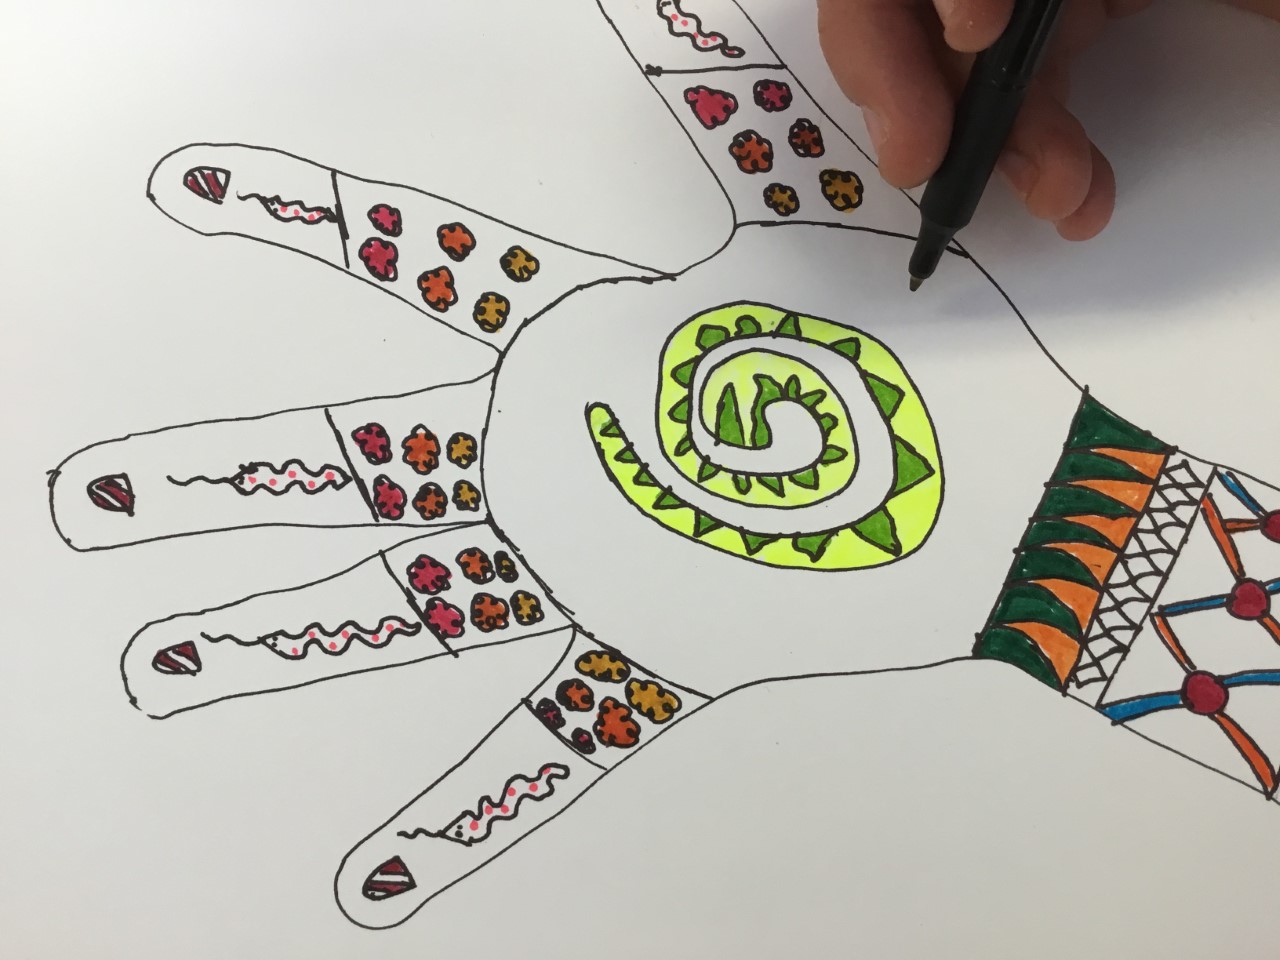
We explored Mindfulness in Art with our last instalment on Kids in Adelaide with the Shell Mobiles you created from your slow walks along the beach…or fast walks if your children are smaller and faster! In this instalment of Mindfulness in Art we are using nothing but our own bodies and our imaginations. This activity can be used from children as young as three to your teenagers, boy or girl! Regardless of age, it is engaging and teaches the pattern as a visual element of art through the slow and repetitious repeating structure of line and form. This echoes the elements of an artwork to communicate a sense of balance, rhythm and movement. My 13 year old son created the following art work and found the experience satisfying and soothing, especially with his favourite music playing in the background. Children in the art room from Reception to Year 6 also find this activity engaging and the noise levels drop rapidly as they all start focusing on patterns and colours. Bliss! You will need the following: * A pencil and eraser for drafting, * A thin black F-pen or something similar for the outlines, * Pencils or textas for colouring, *…


Hi Michelle do you offer Vision Board workshops for teen boys? My son has struggled with high school transition at year 7 and I’m hoping to connect him with positive vision for 2020. He is struggling to attend school and spending his time playing video games and Arguing with his family. Your positive approach to life sounds like the change we are seeking.